Ad-hoc Reports
The SAM front-end allows users to generate ad hoc reports directly from the main record display table to a CSV spreadsheet file or a PDF. This method can generate reports of one to many records after moving those records to the persistent select menu. To locate a pertinent record subset to generate a report on, the main record display table can be modified by clicking a record type, selecting a list, sorting a column, or running a search query. Reports may also be generated directly from scanned assets in the Android mobile app under the FIND screen.
Once a report is generated from the main record display or the mobile app, users can see their generated reports from the reports drop-down menu on the record toolbar for the relevant record type that the report belongs to and export the report to their target format.
Instructions
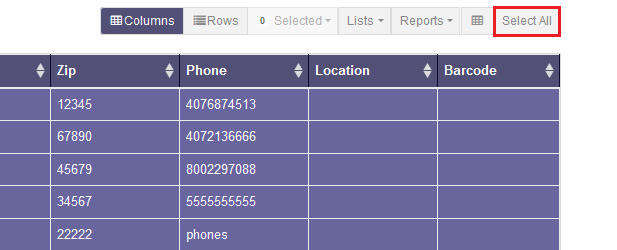 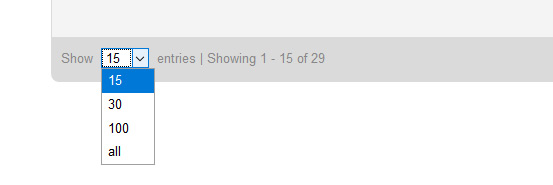 |
Step 1First, load the record display table by selecting a record type and optionally running a search query or selecting a list. You can ctrl-click to select one or many records. Optionally, you can click the Select All button to select all records within the view. The Select All button will only select all records that are currently visible. You can expand the number of records loaded in the table by clicking the Show X Entries at the bottom left corner. |
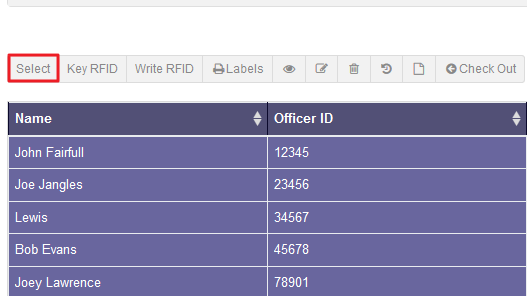 |
Step 2Hit the Select button in the left side record toolbar to move the records to the persistent Selected menu. |
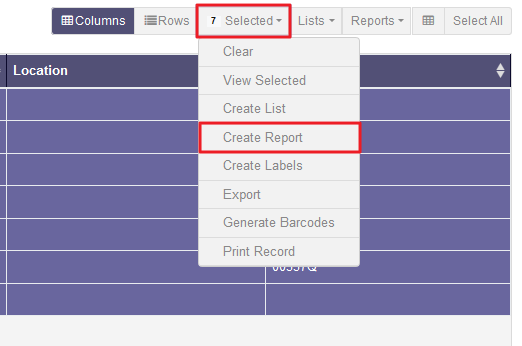 |
Step 3The Selected button in the right-side record toolbar will now be populated with a badge number. This badge number indicates the number of records in the persistent select menu. Click Selected to view the selected drop-down; in this drop-down, click on the Create Report button. After you hit Create Report, you will be prompted to enter a report name and notes. |
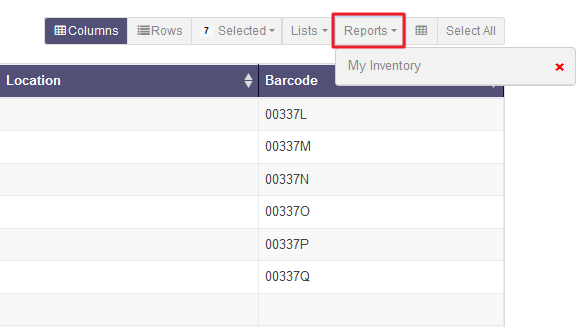 |
Step 4Once you have confirmed the report name, the system will generate the report from the selected records. When you reload the record display table by clicking the record type icon on the left-hand sidebar, the front end will show the generated report as a list item under the Reports menu. |
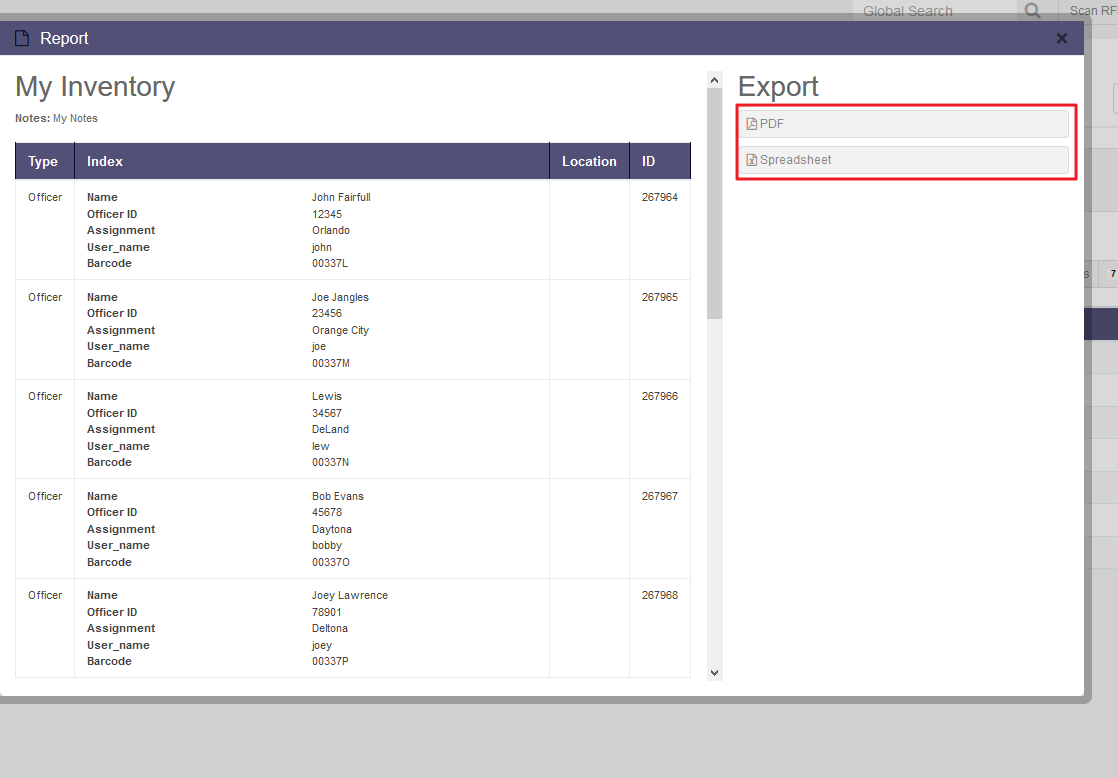 |
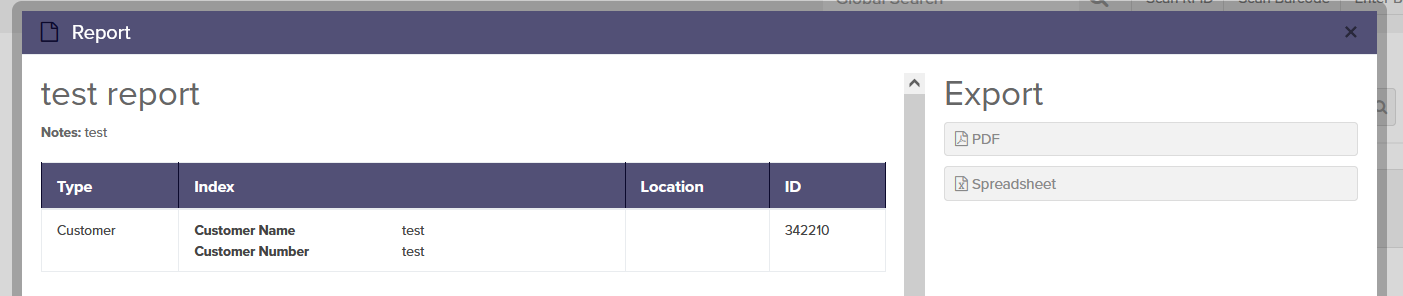
Step 5To view and export the generated report, click on the pertinent list item under the Reports menu. This will show the Report modal, which displays a preview of records added to the report and an Export sub-menu to export the report as either a PDF or a Spreadsheet. |
Customizing and Exporting Reports
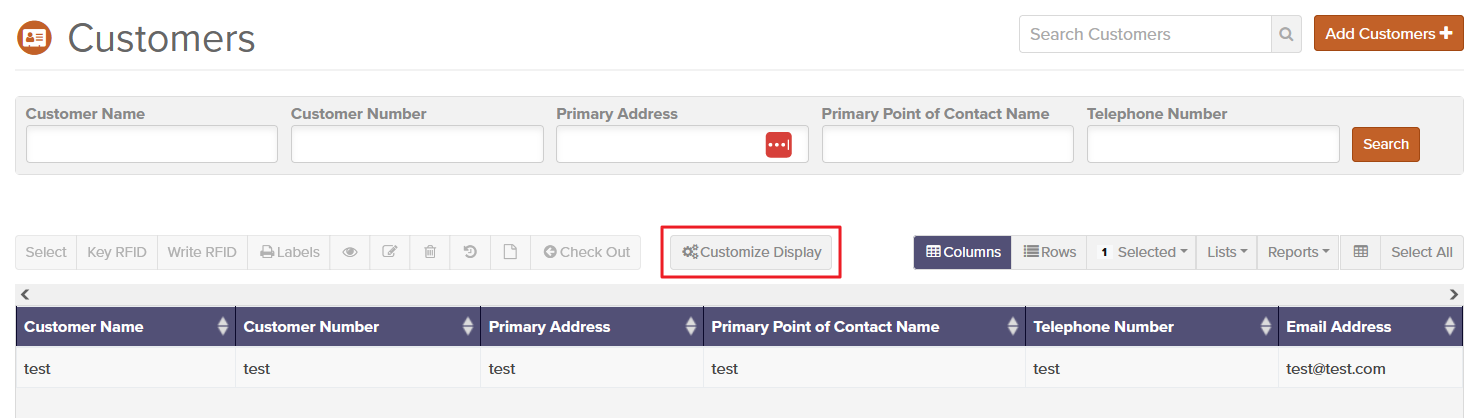
Users may need to customize the fields returned in the generated CSV or PDF report. The fields rendered on the report are based on the fields rendered on the record type display table. Users can customize the fields rendered on the report by leveraging the Customize Display button to change the field set for their record display. This subsequently defines the relevant fields required in the generated report.
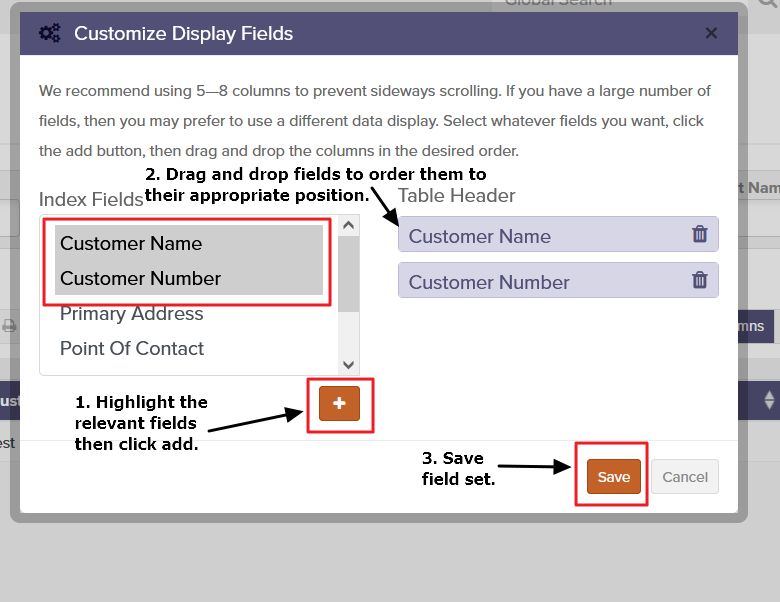
Once in the customize display menu, users may:
- Highlight the relevant fields and click add.
- Drag and drop fields to their appropriate ordinal position.
- Click save to save the field set to the record display.
Once the custom field set has been saved, users can click on an existing report in the reports drop-down and export either a Spreadsheet or PDF.
Note: As a physical medium, the PDF report template is constrained by the number of fields it can reasonably display simultaneously. Pages may overlap on the report because of the record index length, so fewer fields may need to be specified.